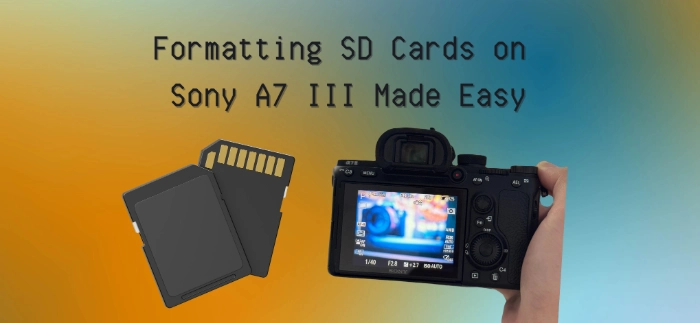
Formatting SD Cards on Sony A7 III Made Easy

The Sony A7 III interface system is already complicated as it is and deleting your images one-by-one will take you a whole week to do (I’m just exaggerating). However, worry no more there is a SOLUTION! Here is a quick step-by-step guide AND a detailed step-by-step to formatting your SD cards and deleting ALL those pictures in just under a minute.
Reminder: Make sure to have your SD CARDS inserted
QUICK STEPS:
1. Hit the MENU button on the left of the viewfinder
2. Go to TAB 5 or SUITCASE highlighted in YELLOW
3. Scroll to SETUP 5
4. Press on FORMAT
5. Select the desired SLOT and hit ENTER
DETAILED STEP-BY-STEP:
STEP ONE:
Turn on your camera, of course – there were times I thought my camera was on, but it was off (ha!).
STEP TWO:
Press on MENU to access the interface.
STEP THREE:
Select Tab 5 with the Yellow Suitcase
STEP FOUR:
Hover over to FORMAT and select which slot you want to format aka delete
STEP FIVE:
Select which slot you want to format.
A pop up message will display (basically to delete ALL your data), press ENTER.
And wallah, there you have simple steps to deleting all your images in less than a minute!
RECOMMENDED POSTS:


